Assigned Projects
Day 102

Well I finished my other movie poster project. I replaced Channing Tatum’s face with mine. I didn’t do much to be honest. I created a mask for the movie poster and got ride of his face and then did the opposite to my picture, I took my face out of it. Then I add my face and then brought back some background around my head. Then I darkened a few stuff with the burn tool. Then cloned the background over his name and replaced it with mine. Doesn’t look the same but the names aren’t the big picture.
Day 101

Today we were assigned a Movie poster project. I choose “The Dark Knight Rises”. I simply just found a brick wall, darkened it a bit and then found my pictures that I used and Separately created maskings and then changed them all to overly to blend them into the background. It wasn’t that bad actually. Hope you like it.
Day 92

Well I finished my project from yesterday. Ok well first I tilted the image with the car then boosted the contrast a bit. After that I added the flag in the back and created a layer mask to fade it into the background. Next I started on the Text. At first I just typed it out and after I added a few layer styles to it, to add the stroke on the outside and to add the inner image in the text. It actually is another car in the text. Then I used skew to tilt it to match the car. Finally I did the last text and redid everything but the carbon fiber background to it.
Day 87

I finally finished this very aggressive projects from the Additional Projects page. The first project was easy tell the end of it. I started out by adding two adjustment layers to make it darker and smoother. Then adding masking layers to add the faded colors on his face and to get ride of his body. Then brought in the fuse (the hard part). At first I just got rid of the saturation. Then I had to learn how to warp for the first time!! That was the hardest thing. Then I just added overlay layers to brighten up some stuff like the fuse and tie. The second image wasn’t bad but I suck at liquify! That was the worst part in this one. Then I pretty much just faded the ice so you could kinda see the dragon through it with a little refection. I couldn’t get the smoke but they didn’t give me the image to work with.
Day 83

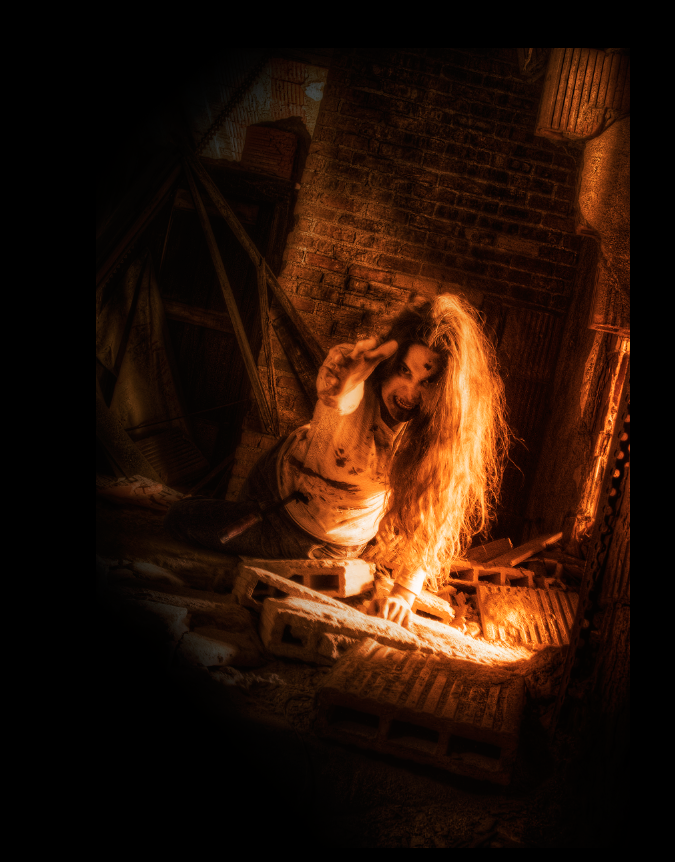
Today I finished the horror scene that I started yesterday. It didn’t take much for this one. I mainly just added a layer mask to darken the corners and then duplicated the layer and changed the hue and saturation to give it the orange looking color. Then I add a texture to give the gradient look in the background. Lastly I added another texture to give the scratch marks to give the old fashion look to it. Hope you guys like it.

I also finished this one too. This one was pretty easy too. Even tho it took 9 layers to do. Well first I learned a new way to sharpen up the image. Then copied the image and made it more like a texture like in real life. Next I brightened up a few colors individually. Next I added the map like background and faded the entire image and went back and brightened a few individual things like the belt headband and the beads on his hair. I liked this just because he’s off of Pirates of the Caribbean. Good movie!
Day 82
Today I started a Horror poster and this is what I got so far. I didn’t have much time to work because of career center today but Ill hopefully have it finished tomorrow for ya guys.
Day 78

Well since I had more time today, I was able to finish. Looks pretty good I thing. But to get most of this I just kept adding pictures and creating layer masks to fade them and to blend them in with everything else. The whole picture was made up of 12 layers. I actually had fun with this one. I got to learn how to use the gradient tool and how to edit the layer masks more and how to blend stuff like that.
Day 77

This is what i was working on today. Its a baseball poster from the additional project page. I haven’t made it that far on it because I had career center today. I got to add layer masks and learned how to use the gradient tool to darken the field and the sky. and learned how to combine the backgrounds. Hopefully by tomorrow I’ll have it finished for you guys.
Day 71

Well today’s the last day before break. Today I was assigned to make another magazine cover and I chose Time magazine. I mostly just used the text tool today but on the picture of Chris Brown I actually used the sharpen tool for once just for fun and I actually liked how it looked afterwards. Hope you like it, had fun making it and being the only one in class today 😀
Merry Christmas!! I’ll be back the 5th. See ya then
Day 70
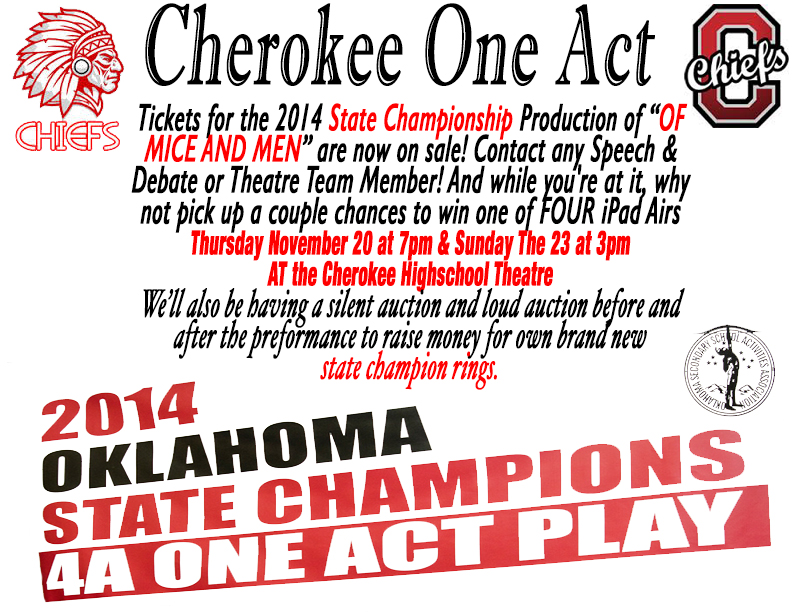
Today I was told to make a Fundraising poster. So I decided to make one for Cherokee. Our one act group just recently won 4A state championship in theatre one act and are needing help to raise money to pay for their state championship rings. This event already past but I thought I would make them a poster for time travelers 😀
Day 53

Today was an assigned project day to make a koozie. Sport teams/bands was the theme. So I chose the Green Bay Packers. All I really did was take some pictures and erase the background using the eraser. the hardest part was getting the football players by themselves. I used the magic eraser a lot to just to erase faster and then lastly the free transform command to make the images the right size to fit on the cut out.
Day 43
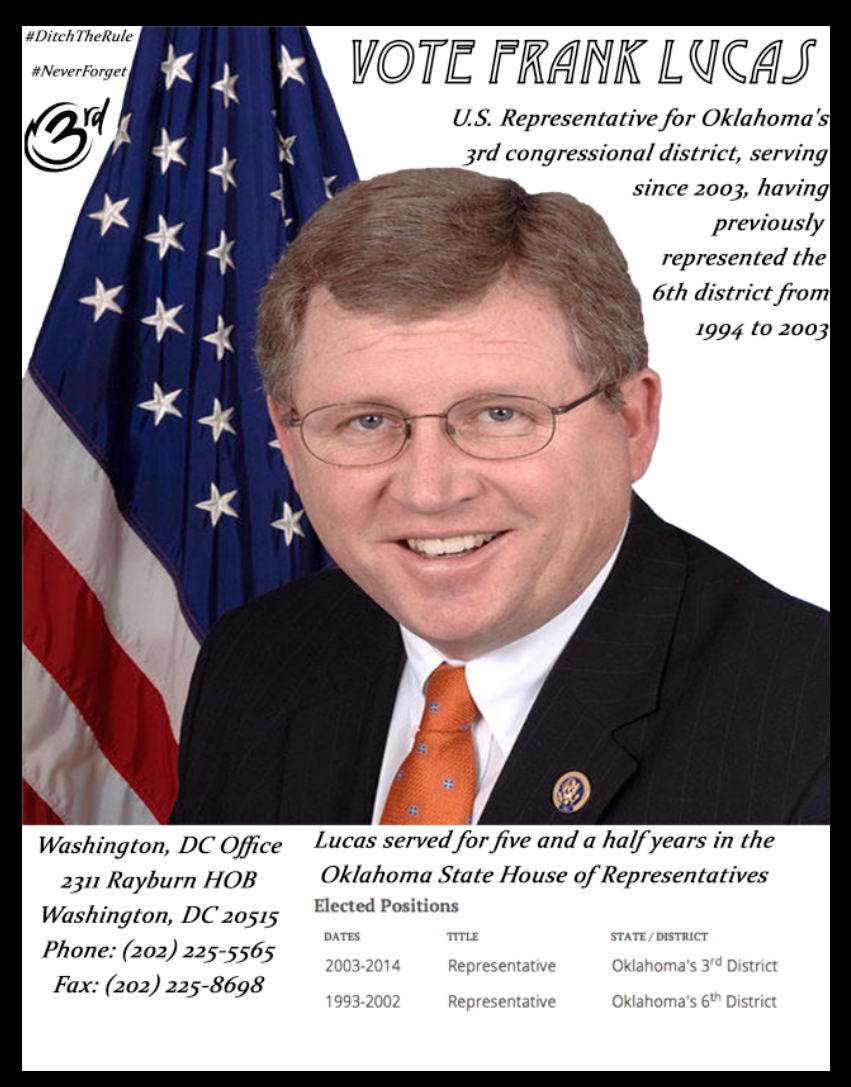
Today I worked on a Flyer for Frank Lucas a U.S. Representative for Oklahoma. I mostly just used the text tool but I did use the erase tool to get rid of the background on his picture. And then refined edge to make it look a bit better. I mostly did research today but this is what I got done.
Day 41

Today I finished up my magazine cover. All I did today was at a bunch of text with the text and little symbols that I got from the internet. Little short on time right now so I’ll finish typing what all I did tomorrow
Day 38

Today I am working on a magazine cover for an assigned project so far I just took the cover of a VIBE magazine and put eminem in front of the word “vibe” and the put in some “teasers” on the side and top with the text tool. Hopefully will have this finished by tomorrow!
DAY 36
FRONT

BACK
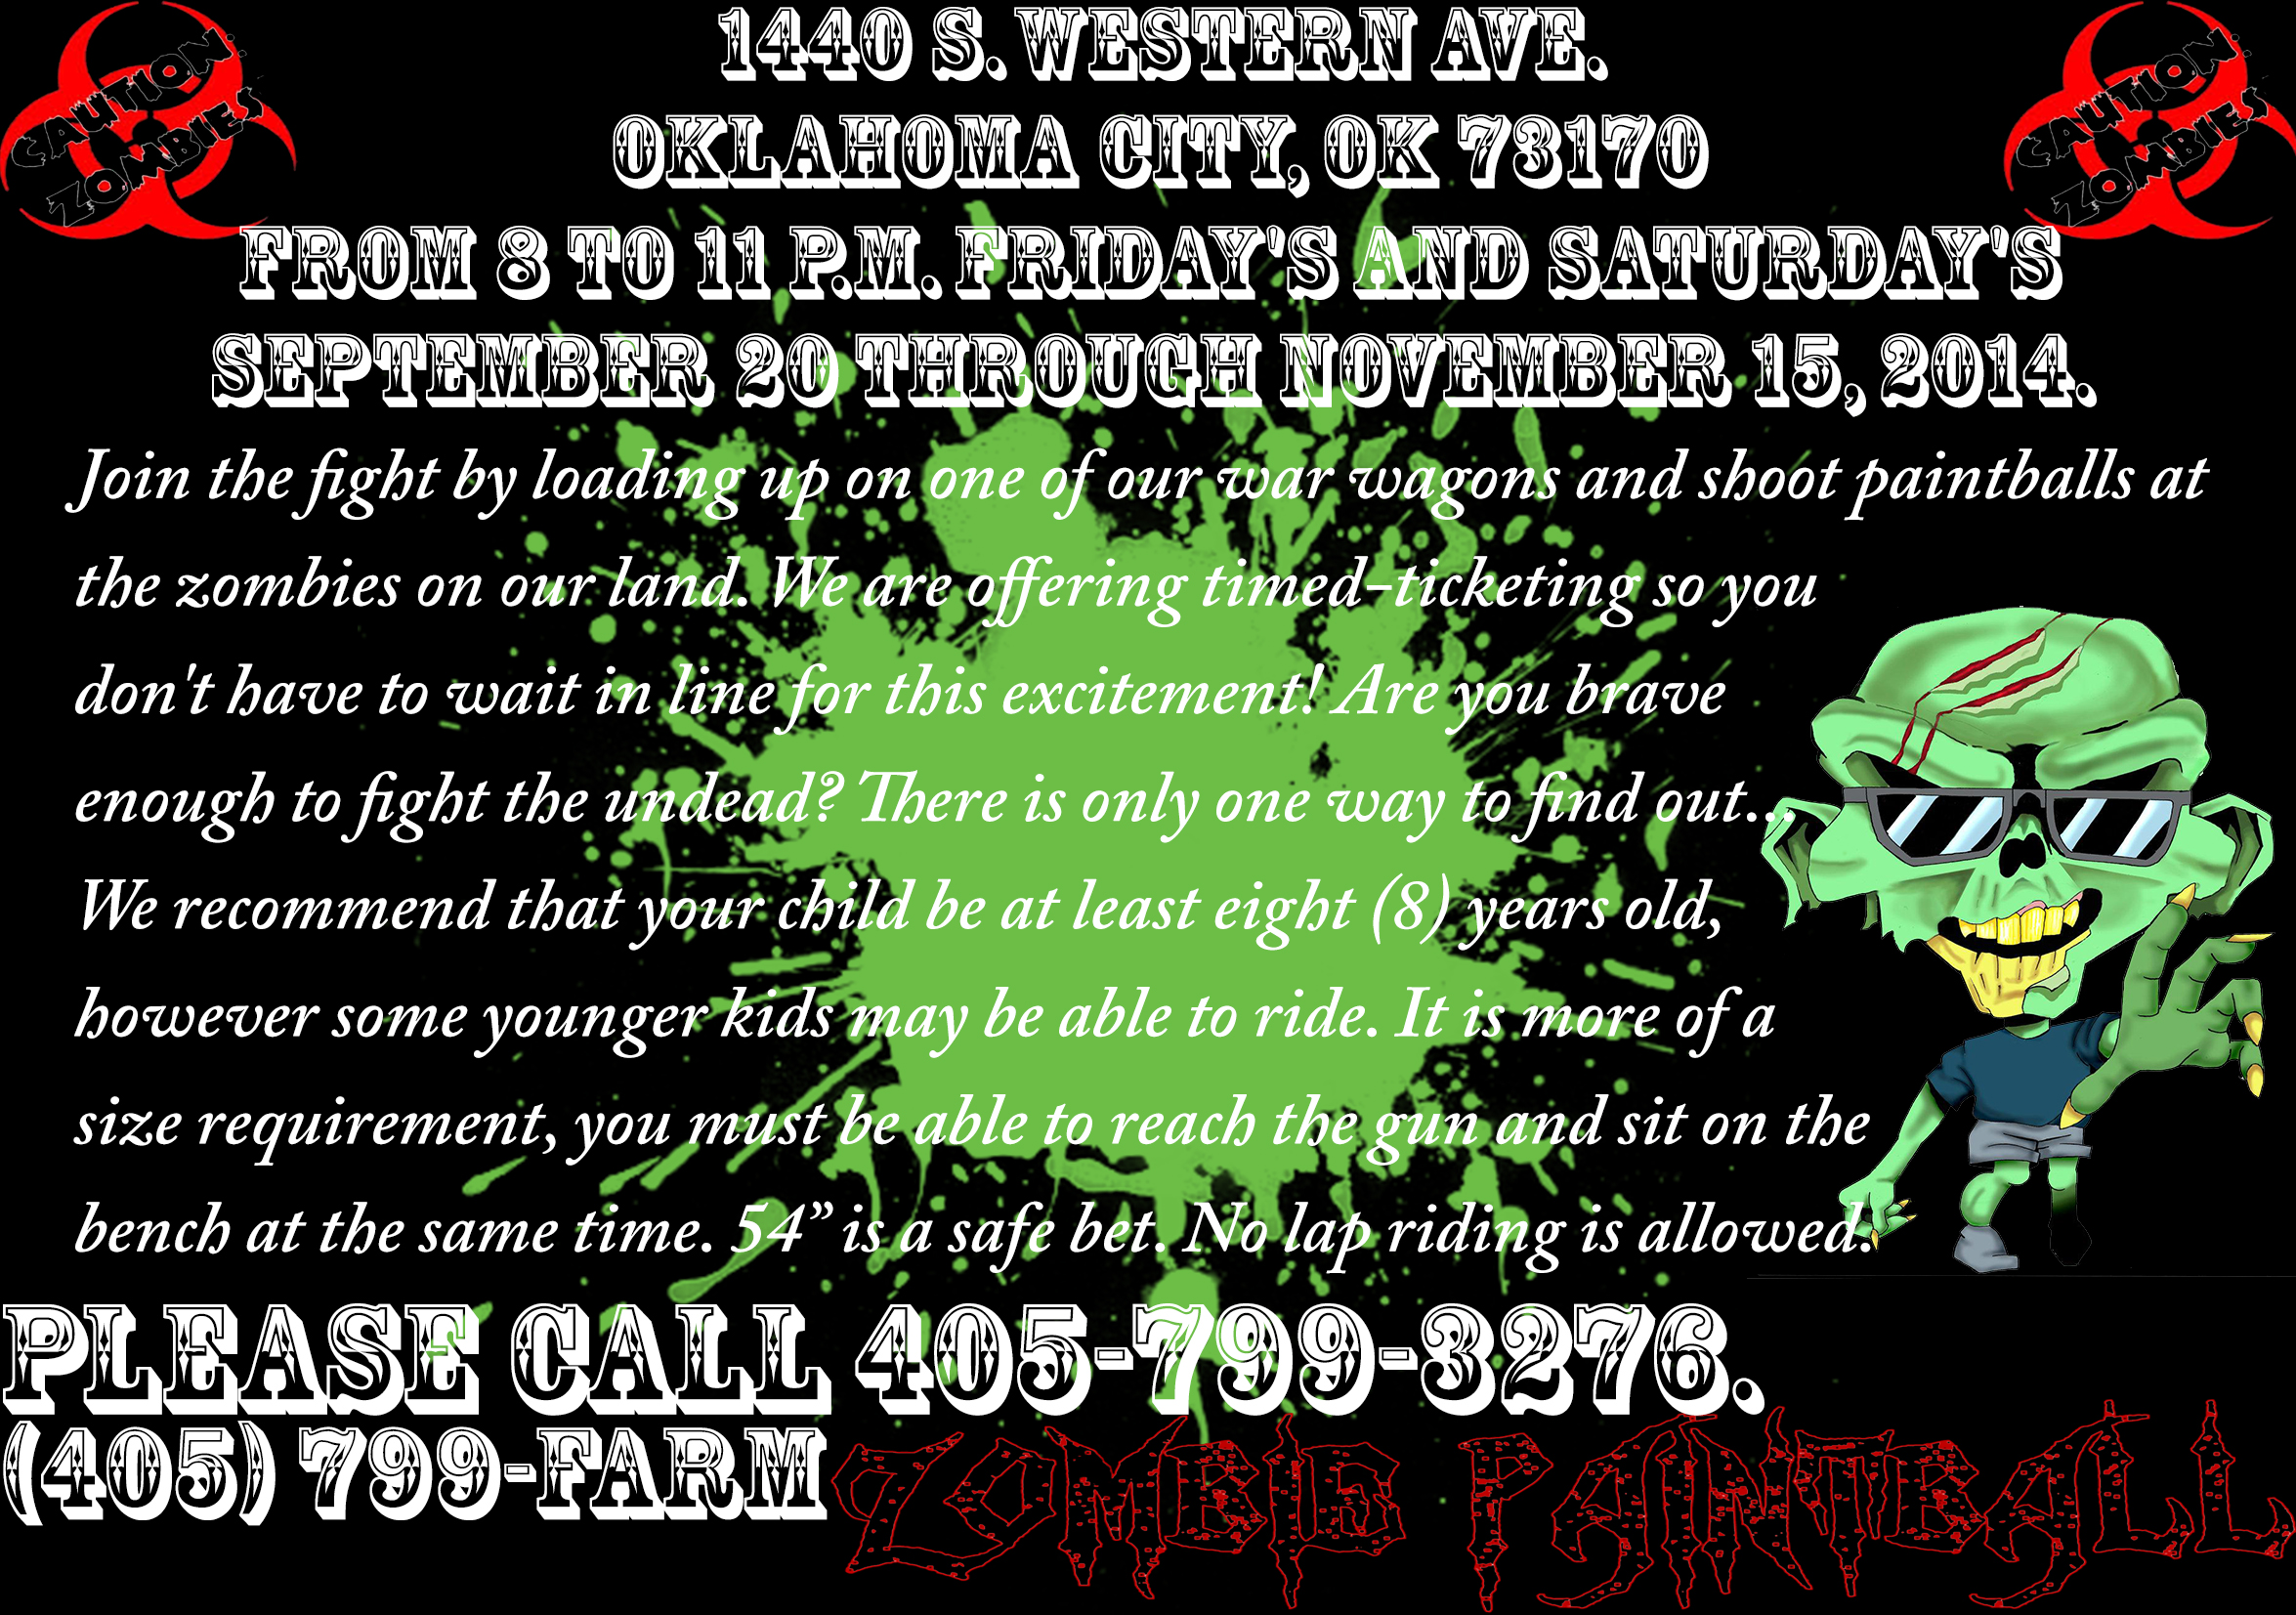
Today we had an option to work on lynda.com lessons or do an event poster/flyer. So of course I picked the flyer and of course I picked the zombie paintball event. I most just took all the information need to tell people when, where, what, and who to contact. The threw in a few paint splatters and extra typing and some other pictures I found. Then changed the colors of there logo just a little with the paint bucket and brush and pencil.
